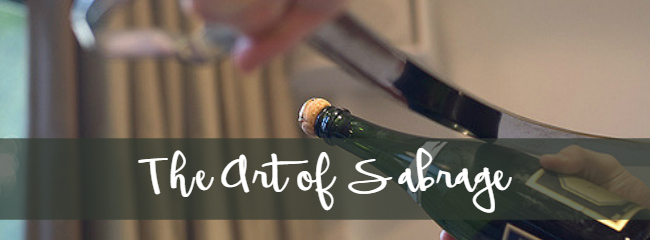
A Lesson in the Art of Sabrage
English wine is one of our favourite things, and when an invite from leading wine producer and winery Chapel Down arrived we could barely contain our excitement. So last week, Simon, Emily, Chloe and Sophie were lucky enough to pay a visit to Chapel Down Winery, a beautiful 22 acre vineyard in Kent, located close to the picturesque market town of Tenterden. Throughout the day, the group of budding wine connoisseurs broadened their knowledge on the many varieties of sparkling and still Chapel Down wines, taking part in a guided tour of the vineyard and winery, before settling in the tasting room to sample some of their finest creations. Once palates were well and truly whetted, they stopped by the smart onsite restaurant, The Swan, for a two-course lunch and of course, more wine to wash it down – delicious! A real highlight, however, was experiencing the unique practice of sabrage. Stepping up to the challenge, Simon managed to master the art on his first attempt, much to the rest of the group’s amazement!

Not familiar with sabrage? Read on to learn more…

What is Sabrage?
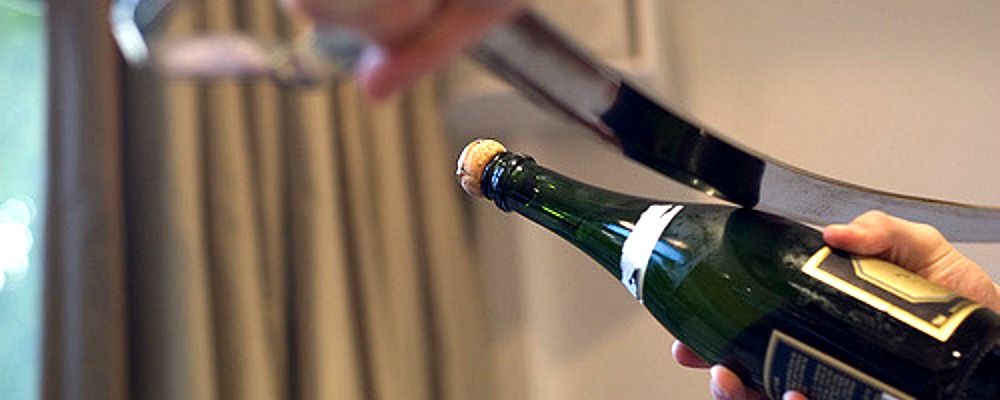
In short, sabrage is the technique of opening a bottle of sparkling wine (traditionally champagne) using a long narrow instrument specially designed for sabrage – a champagne saber! The practice is generally adopted for ceremonial occasions (though it is a guaranteed way to impress a crowd from a distance at any get together) and involves the wielder sliding a blade across the body of a chilled bottle to create an impact on the join of the neck, resulting in the top breaking away near the cork ready for the wine to be poured.
Now, why would anyone pop a cork, when they can sever it with a sword?
How does Sabrage work?

It’s all to do with physics. During the process of secondary fermentation carbon dioxide is released, creating a significant amount of pressure inside the vessel. The lip at the opening of the bottle and the vertical seam running down the body both create a stress concentration and therefore, the glass is weakened by up to 50% at the intersection of the two. When struck with a blunt object, the impact forms a crack, which extends across the neck of the bottle due to the pressure and in turn, severs the top from the rest of the bottle – sending it flying into the air! Clever eh?
Where did sabrage originate?
It’s not known exactly when or by whom sabrage was invented, however, the practice became popular in 19th Century France, as a way of celebrating the army of Napoleon’s victories across Europe. It is thought that during their celebratory parties, the cavalry or Napoleon himself would open the champagne with a saber (the weapon of choice of Napoleon’s light cavalry) in one mighty swipe. Napoleon is famously known to have said “Champagne! In victory one deserves it; in defeat one needs it!”.
A more romantic tale of the origins suggests that the technique was adopted by the cavalry when they were being entertained by Madame Clicquot (a true pioneer in the champagne industry), at the vineyard inherited from her late husband. As Napoleon’s officers rode off early in the morning, she would offer them each a complimentary bottle of champagne and they would swiftly slice the top off with their sabers to impress the young widow.

How it’s done #Don’tTryThisAtHome
Adults aged 18 or over who love using a sword and have positioned any appreciative audience well out of the way of any flying glass, crack on. Others are advised (as the famous game show used to say) “Don’t try this at home!” TOP TIP: A full suit of armour will help add to the atmosphere.
1) Take a chilled bottle of champagne or sparkling wine (not prosecco) – the bottle MUST be cold, as a warm bottle could explode. The ideal temperature is between 7 – 8°C, which creates the perfect amount of pressure to cut the glass
2) Remove the foil and wire basket.
3) Make sure that the neck of the bottle is pointing upwards at approximately a 30 – 45° angle
4) Check that nobody is stood in the firing line – you won’t be very popular if somebody gets hit by a flying bottle top!
5) Find the intersection between the two seams (the lip and the vertical seam)
6) With your arm extended, hold the bottle firmly with one hand – placing your thumb in the dimple of the base should help to stabilise it. With the other hand, place the blade flat against the surface of the bottle and glide firmly up the seam towards the lip
7) With a firm sweep, strike the lip of the bottle and watch the top detach (if done correctly this should result in a clean cut)
8) Pour away!
Images and video courtesy of Red Letter Days, Pixabay, s3aphotography and GQ.


