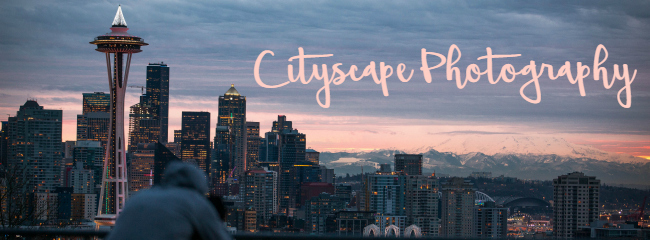
Photography Tips: Capture Your City
Smartphones are as much a part of our daily lives as breakfast, lunch and dinner, and everyday across the planet we share billions of pictures snapped by ‘phone. More and more people are dabbling in the world of photography, whether for the purpose of recording memories, enjoying a new hobby, or purely for the benefit of social media. But nothing quite beats the precision, composition and clarity of professional photography, no matter how many filters have been applied to a smartphone image.
For many budding photographers, cities serve as a muse – and just because they don’t present the same serenity and natural allure as landscapes, it doesn’t mean they are lacking in beauty. Filled with a contrast of old and new architecture, the hustle and bustle of busy inhabitants, varying modes of transport and gritty scenes of urban life, there are endless photo opportunities waiting to be captured, though it takes real skill to encapsulate the essence of a city in a single image.
Following on from our previous post full of tips on how to get the best shots when photographing children, we’ve put together a few must-know cityscape photography tips. Follow these and you’ll be boasting the photography game to rival a professional in no time!
Beginner to photography? Our introduction to photography courses are perfect for getting a grasp on the basics.
Choose an Interesting Subject
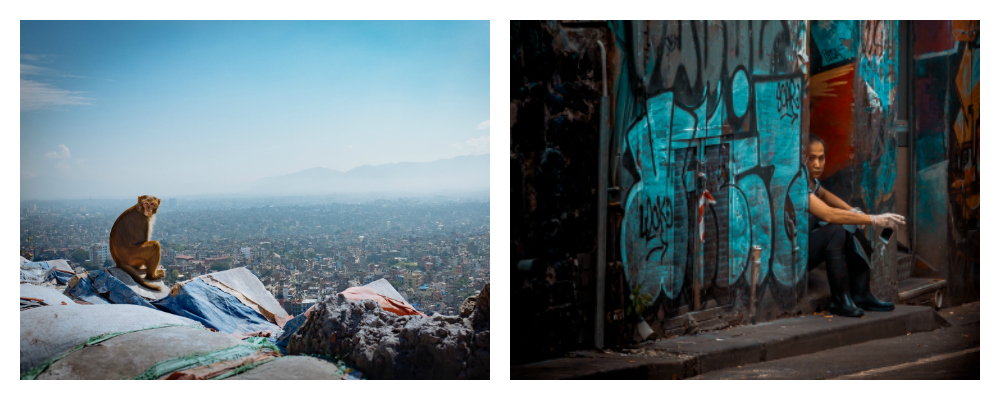
It goes without saying that the secret behind a fantastic photograph is a compelling subject. Don’t just point the camera at any old object and expect to create a masterpiece. Take in the surroundings and think about what really catches your attention. That said, the subject of the image doesn’t have to be traditionally beautiful – in some cases the most captivating photographs come from grittier scenes, such as a piece of urban street art or a dilapidated building. The otherwise unseen or un-celebrated aspects of a city can make for incredible photos, so always think outside the box.
Don’t be afraid of pedestrians or traffic ‘ruining’ a shot – they’re all part ‘n’ parcel of city life. In fact, they play an important role in capturing the buzz of a busy urban area and offer the photograph a sense of movement. Another thing to keep your eyes peeled for are interesting elements such as water for reflections, leading lines to guide the eye (roads, railway tracks, rivers, etc.) and objects that can be used to frame the image (tall buildings, bridges, etc).
Be Aware of Lighting
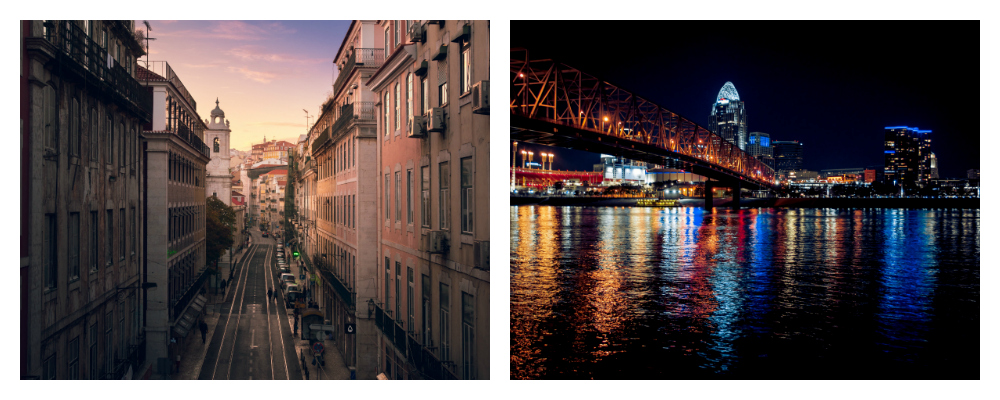
Before taking a photograph, think about where the light is coming from within the frame. By keeping the sun behind you, you have the maximum amount of light on the subject matter, which in turn will highlight all of the finer details within the shot. The time of day can also have a huge impact. Set out either first thing in the morning or an hour before sunset to catch dramatic contrast between light and shadow, while sunset and sunrise offer stunning skies as a backdrop to the image, as well as gorgeous warm tones. Just before dusk is also a fantastic time to shoot, as it captures the energy of a city come evening, encapsulating the illumination of city lights, while maintaining a contrast between the buildings and deep tones of the sky.
Our Evening Photography Tours offer the perfect opportunity to capture a city at night, teaching pupils the basic principles of digital photography in darkness, within a group under the guidance of an expert tutor. Fun and educational, writing your name with light is a highlight!
I turned to Mandy Charlton, an award-winning photographer and blogger, to seek some top advice for capturing spectacular photographs. She told us:
The best times to photograph a city are the golden hour, which happens an hour after sunrise and before sunset and the blue hour, which happens the hour before sunrise and the hour after sunset. You’ll find it brings out extra contrast in the image, your tones will be better and you’ll create something which has increased depth and interest. The light isn’t just kinder to skin tones, it’s also great for making buildings look perfectly beautiful.
Experiment with Angles
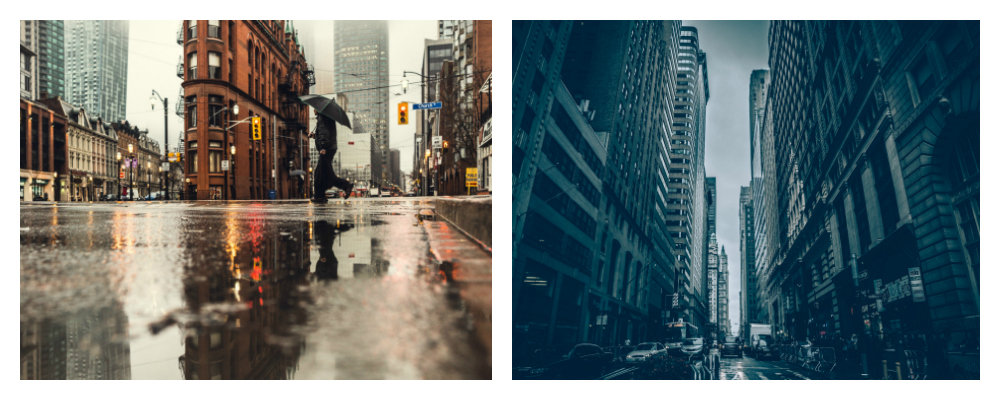
Don’t be afraid to experiment with different angles and distances. It’s all well and good snapping away from eye level, but finding a new perspective is what makes a photograph unique to the every day.
When finding the perfect angle for your shot, always think about balancing the composition, so that there is something of visual interest across the entire image and not concentrated to one area. Achieve this by moving closer to the subject matter so that it fills the shot or by moving the camera up or down to adjust the object position within the shot. Keep your eyes peeled for shadows and reflections (think rivers, puddles, fountains, etc.), which can help to fill empty space within the image, while adding an interesting new dimension within the frame.
Shooting from a low angle has potential for dramatic results, as it creates an exaggerated perspective, by making the objects in the foreground look much bigger than they really are. Especially helpful when shooting sky-scrapers and other tall landmarks, as by getting up close and shooting from below, you give the subject length.
The key to finding the perfect angle is simply trial and error. Shoot lots of pictures from different angles until you find one that does the scene justice.
We asked someone else who really knows her stuff for her top photography tip, and Mel Knibb of Le Coin de Mel told us:
My top tip for getting the best photos possible is to photograph in natural light and to take lots of photos from different angles. It will take time to form an idea of what really makes a good photo, so trying to capture the same thing from a range of angles will help you get an eye for composition and also help you decide what you like best.
Play with Composition
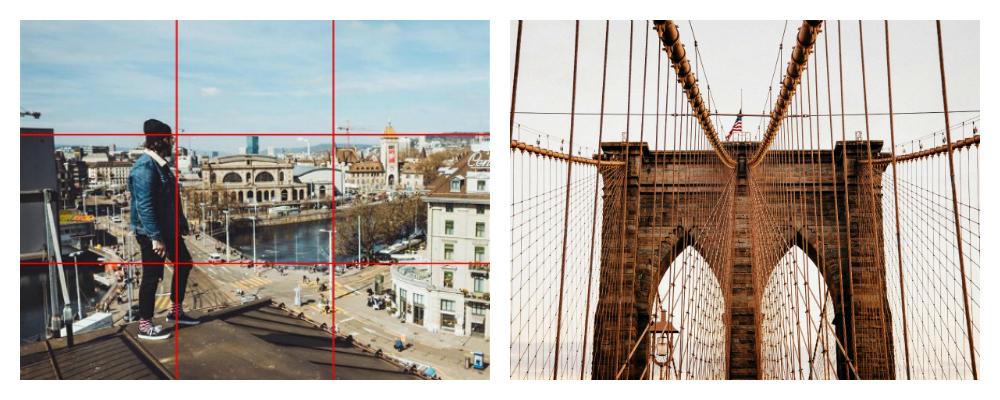
Good composition is the key to enhancing the impact of a photograph, as it can really influence where the eye is drawn to within the frame. One of the most commonly used composition techniques is the ‘rule of thirds’ – a guideline that involves mentally dividing the image into nine segments using two vertical lines and two horizontal lines, then placing the most important elements of the image along these lines, or at the points where they intersect. Remember this in the editing process, as a photograph can be strategically cropped to improve the composition in post-production. Of course, this is not a rule of thumb and there are circumstances in which the technique can be broken.
Symmetry and patterns can form a sense of visual rhythm in a photograph and are satisfying for the perfectionists among you. Use symmetry to the photograph’s advantage and capture uniformity with precise alignment, or break up the conformity with the introduction of a new unique focal point on one side of the image.
Other factors to remember are balance and depth. Place the subject off-centre to achieve a more natural aesthetic and fill the empty space with something of lesser importance to balance out the image. Having a mixture of foreground and background can also help to create the illusion of layers and a three dimensional appearance.
Use the Right Kit
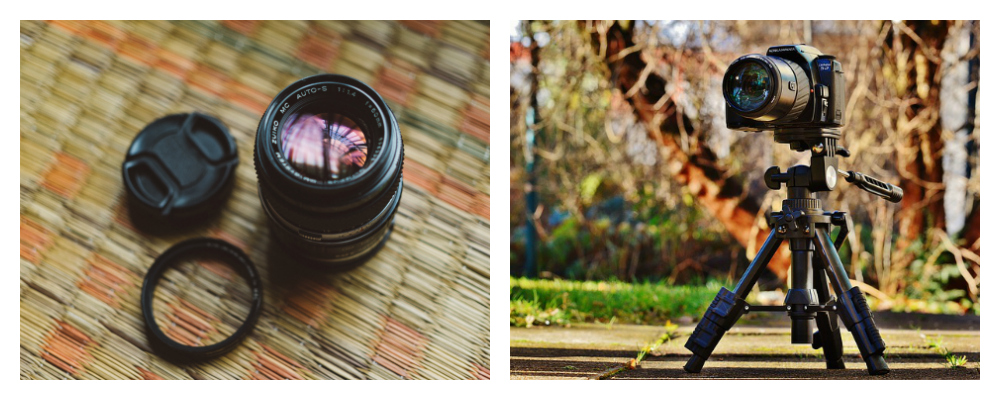
The core of photography is the camera; however, as a beginner it’s not necessary to spend big bucks on a top-of-the-range camera before having learned the skills. It’s possible to take lovely photographs with inexpensive kit, so start out with something more basic to learn the essentials of photography with and upgrade from there. Different lenses are suitable for different types of photography – capture an entire city skyline by using a wide angle lens, focal lengths between 12 – 35mm are ideal.
Save your photos from shaky hands by using a tripod or flat surface to set your camera down, in order to stabilise the shot and achieve sharper results. When setting up the photograph, make sure the camera is level and the horizon is completely straight in the view finder. You may also want to consider using a timer to avoid any trembling caused by pressing the shutter button. Photos can be realigned in the editing process, but it’s easier to get it right from the get go.
Fancy taking up photography or brushing up your skills? Check out our photography courses to seek guidance from the some of the best.
You May Also Like

2013 Wimbledon Championships – Who will win?

Top 5 Peace Songs of All Time