Top Tips to Improve Photos
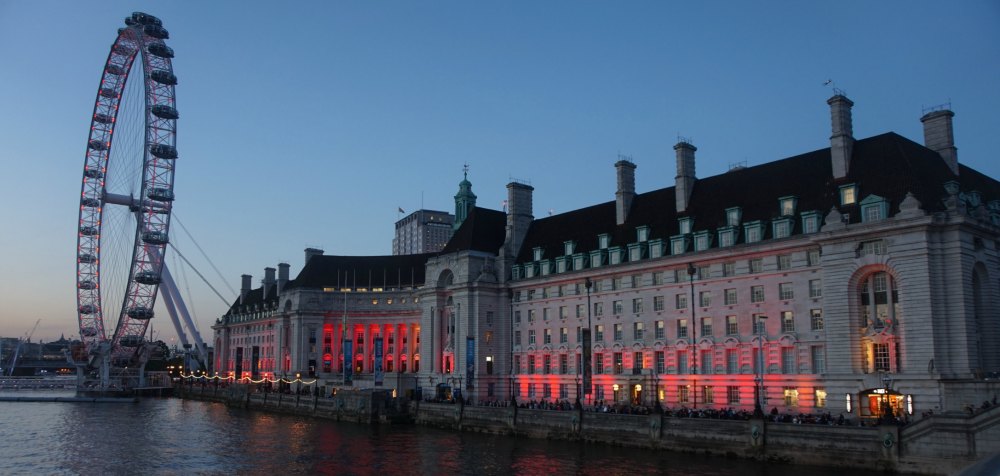
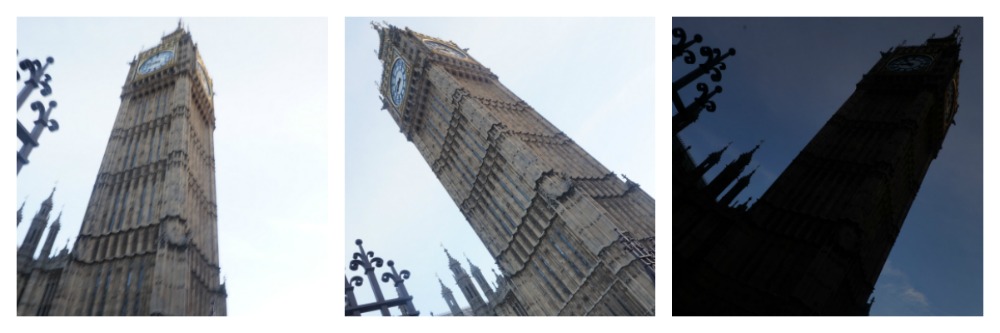
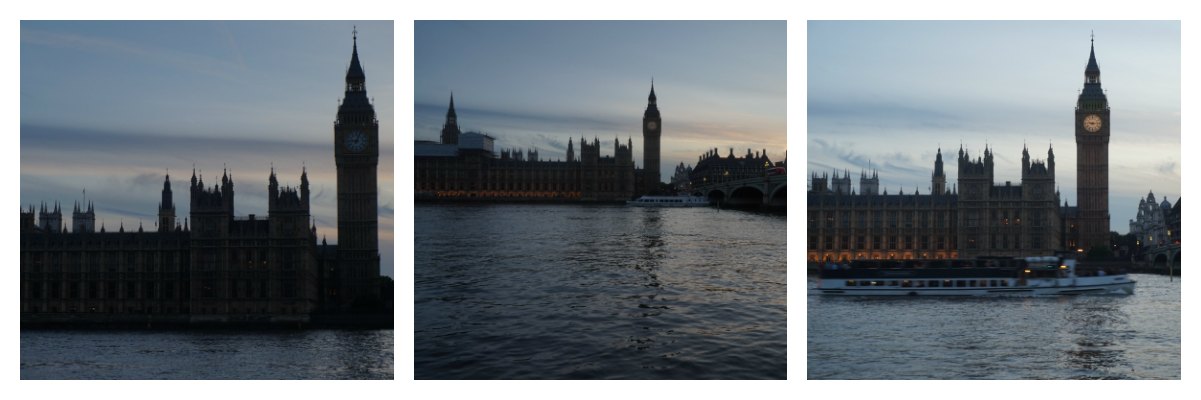
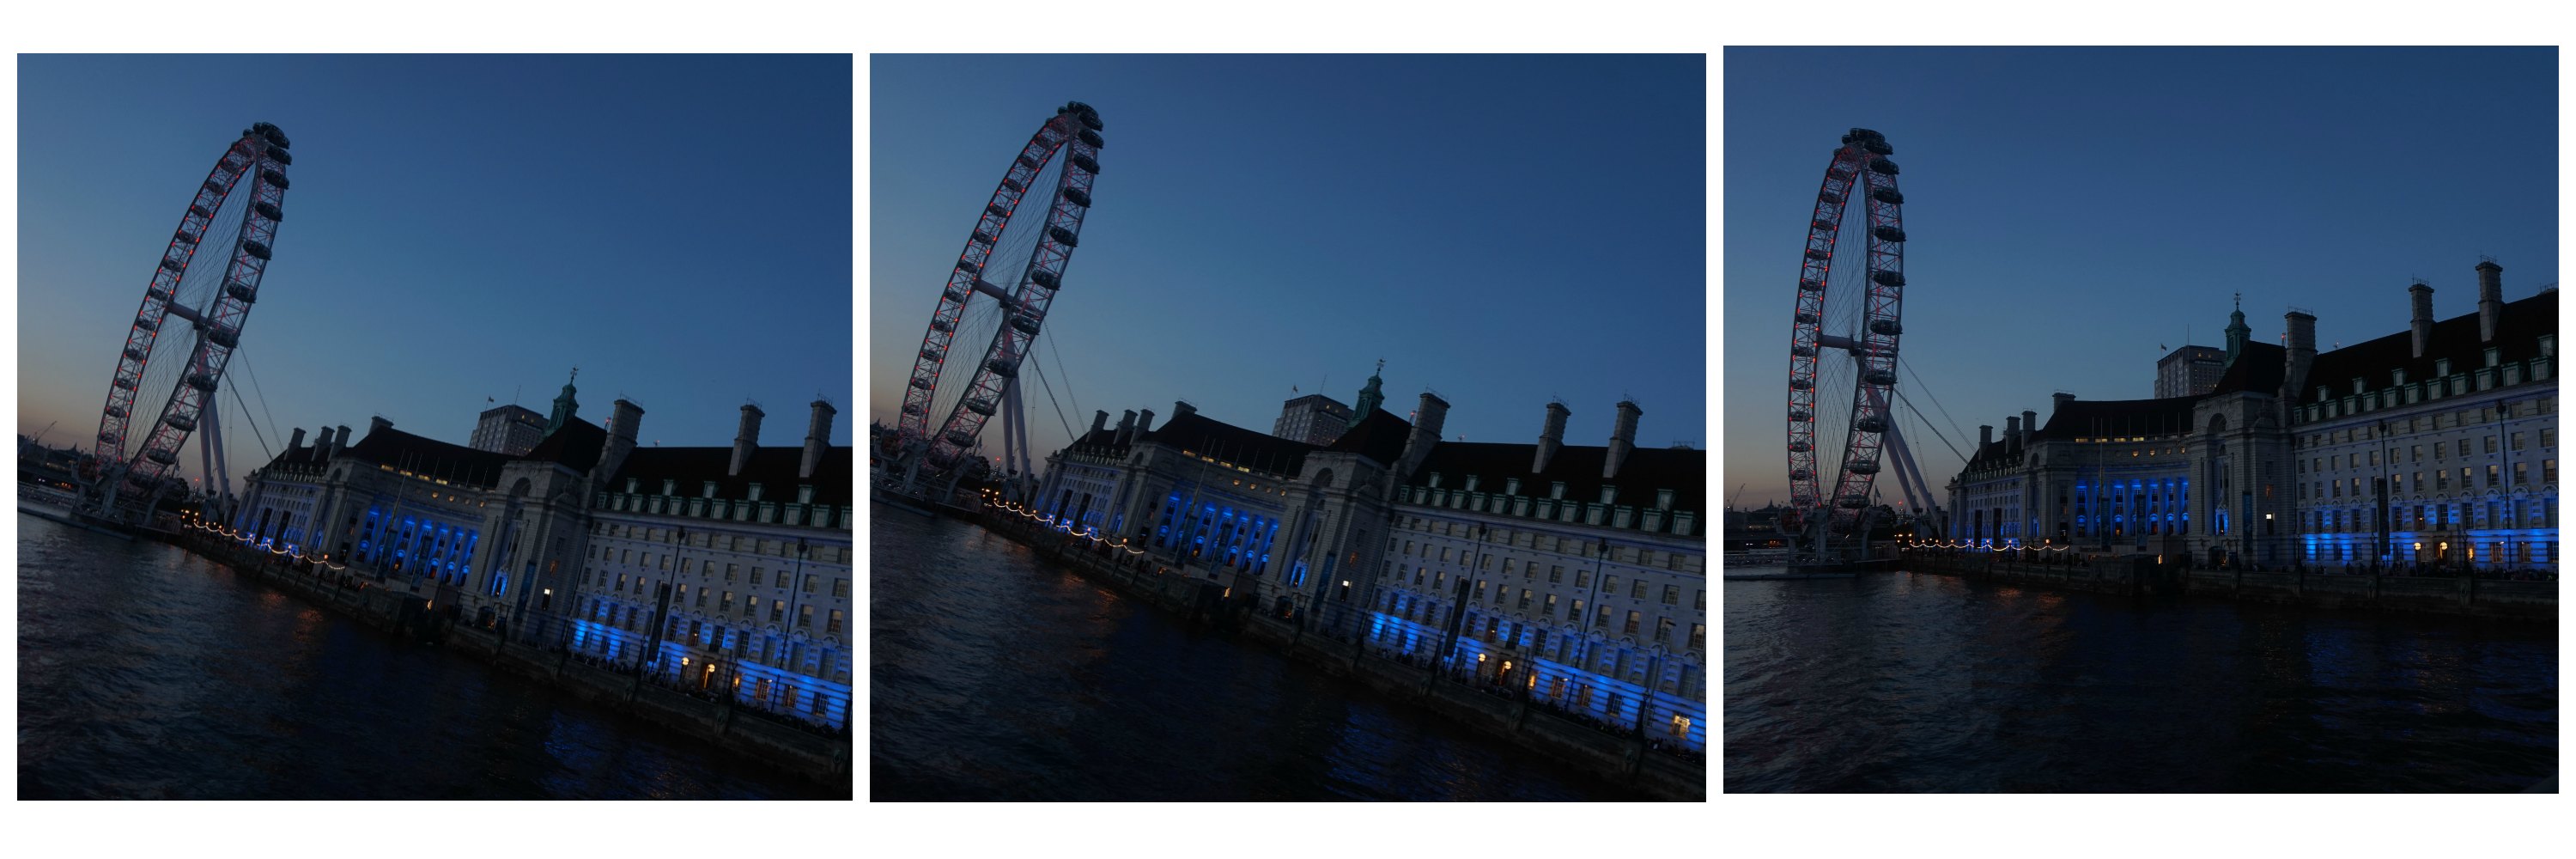
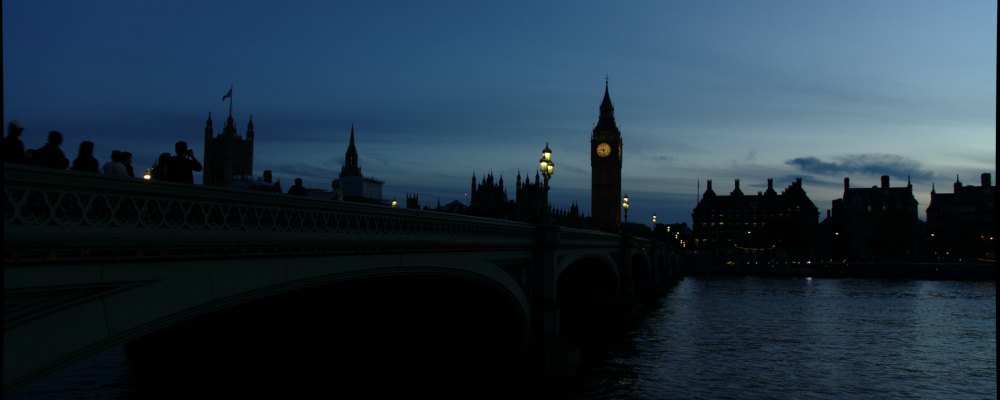
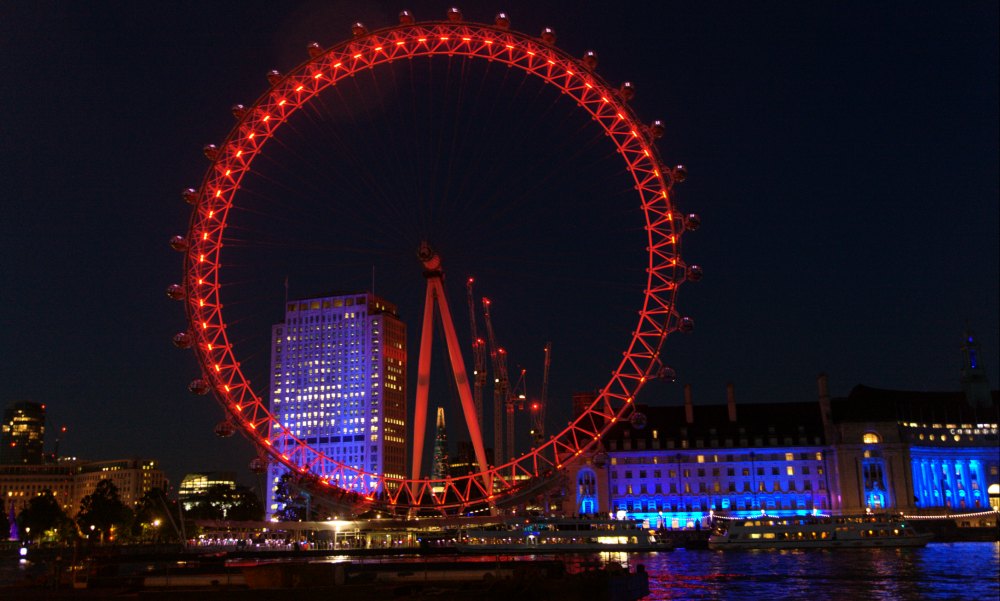
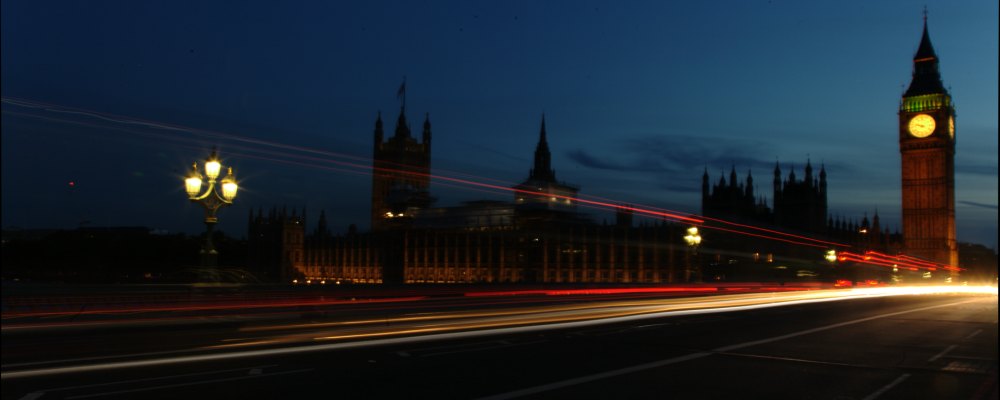
Getting the perfect photo, whether for Instagram or to capture the perfect moment of a wedding, is a tricky art! Recently RLD’s Sevda and Raj went along to a Red Cloud Evening Photography City Tour in London and the duo experimented with different light techniques and angles to capture the sights and sounds of London. Read on to discover their top tips for complete beginners and professionals alike.
If you are a complete beginner to experimenting with photography then fear not; Sevda was too. She was curious, having read a previous blog post of ours on this very experience. She found the course really useful and by the end was shooting beautiful photographs of some of the most iconic sights of London.
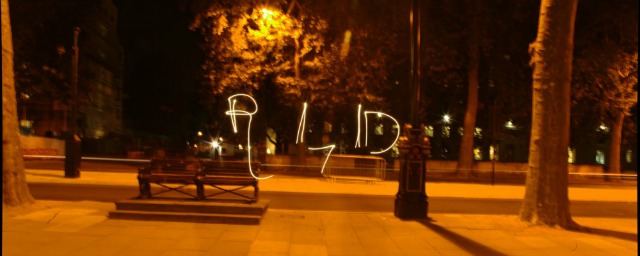
Please note, none of the images have been altered and are just as Sevda and Raj captured them on the day!
SEVDA’s top tips to improve photos and get the most out of the course:
- If not already familiar with your camera settings then do properly check them out before the lesson, as this will save time and understanding
- If you are a complete novice, look up the basics of photography including terminology and camera functions so as not to go in blind
- Don’t be afraid to ask questions – this is how you learn!
- Work with the others in the group to merge your newfound knowledge and help improve on the exact same photo
- Pre-learn how to assemble a tripod to avoid wasting time
RAJ, with more experience using cameras, enjoyed the opportunity to play around with camera settings, as well as develop his skills further and learn new ones. He recommends learning what each setting does, so you know which to use to capture the perfect shot!
- ISO – is the camera’s image sensors sensitivity to light. It acts in a similar way to a light switch, turn it down in bright light (ISO 100-400) and turn it up in low light (500+ although this depends on the highest ISO you can go to without over-exposing an image)
- Aperture – controls the size of the lens opening which is good to use for focusing on things. Depending on what you want in focus, use small F/ stop (10+) for a blurry background with the subject in detail and use big F/ stop (9.5 or anything less than) to capture a background more in focus with subject still in detail
- Shutter speed – controls the duration in which the camera’s image sensor is exposed to light. Snapping too fast would in most cases produce an over-exposed photo and snapping too slowly produces a dim lit blurry photo (unless shooting still objects, which always need to be shot on a tripod)
Want to have a go at bringing out your inner photographer? Then why not try one of our photography experiences and see what shots you manage to create!
Images: Raj and Sevda on behalf of RLD
You May Also Like

Valentine’s Day and Chinese New Year’s Recipes

Red Letter Days loves London Pride Part 2